If you follow the method explained in this blog, you can make your car’s headlights look cleaner, brighter, and clearer. This simple process can improve the appearance of cloudy headlights and help restore better visibility without replacing the entire headlight assembly.
How To Clean Cloudy Headlights
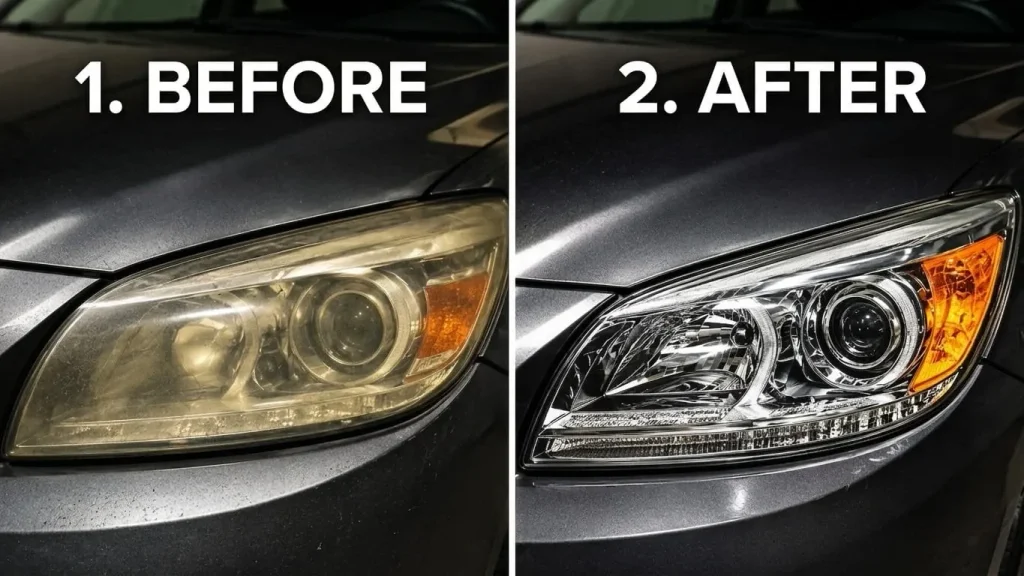
Your headlights aren’t telling you the whole story. Sure, you can still see the road, but that yellow haze on your lenses? It’s more than just ugly—it’s making it harder to see at night, and it’s about to hit your wallet for no good reason.
Go to any dealership with foggy headlights and you’ll hear the same thing: “You need new assemblies, both sides,” they’ll say, and just like that, you’re looking at a $1,000 bill. They’ll make it sound urgent and unavoidable. What they won’t talk about is what’s really going on under that cloudy plastic—and how rarely you actually need brand new headlights.
Here’s what they don’t mention: that fog isn’t just dirt. It’s not road grime, either. It’s UV damage, cooked deep into the plastic lens every time your car sits in the sunlight. And this isn’t something a new $1,000 headlight magically cures. Fixing the surface is what actually does the trick.
That’s what mechanics in other countries have been quietly doing for ages—no upcharge, no sales pitch. It costs about five bucks. Seriously. Two things most people already have at home, tucked away in the bathroom and garage. You don’t need a mechanic, and you definitely don’t need a $1,000 invoice.
We tried it ourselves. We put it up against fourteen other so-called solutions—the viral hacks, the internet myths, the ones that work for an afternoon and then fade away. Some of those methods help a bit. Some actually make things worse. Only one, the one dealerships would rather you ignore, gave us results that actually lasted ten months.
Stick with us and we’ll show you which fixes really work, which ones just waste your time, and the best way to clear up your headlights for less than the cost of a sandwich.
The German Trick: Toothpaste & Double Wax (DIY Headlight Restoration)
Your headlights aren’t telling you the whole story. Sure, you can still see the road, but that yellow haze on your lenses? It’s more than just ugly—it’s making it harder to see at night, and it’s about to hit your wallet for no good reason.
Go to any dealership with foggy headlights and you’ll hear the same thing: “You need new assemblies, both sides,” they’ll say, and just like that, you’re looking at a $1,000 bill. They’ll make it sound urgent and unavoidable. What they won’t talk about is what’s really going on under that cloudy plastic—and how rarely you actually need brand new headlights.
Here’s what they don’t mention: that fog isn’t just dirt. It’s not road grime, either. It’s UV damage, cooked deep into the plastic lens every time your car sits in the sunlight. And this isn’t something a new $1,000 headlight magically cures. Fixing the surface is what actually does the trick.
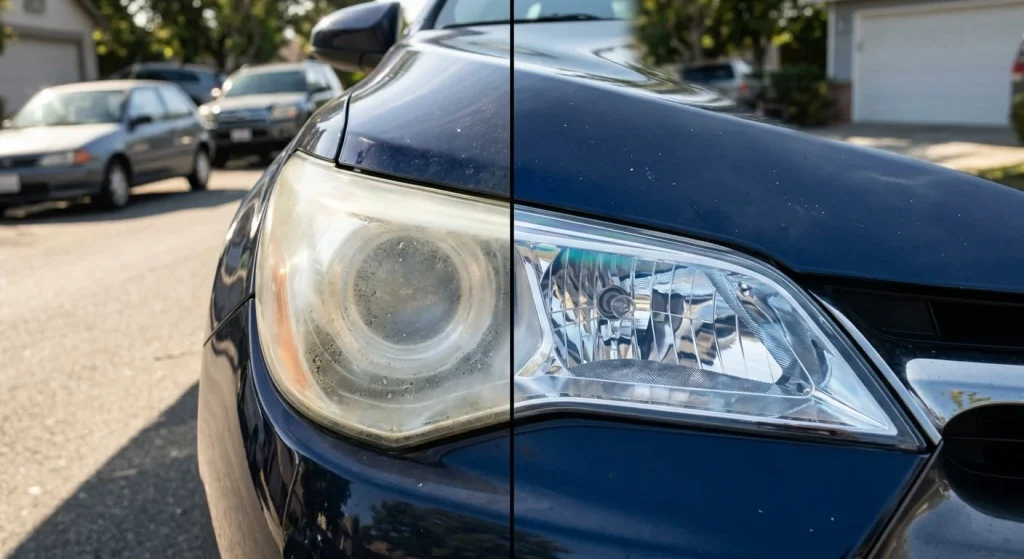
That’s what mechanics in other countries have been quietly doing for ages—no upcharge, no sales pitch. It costs about five bucks. Seriously. Two things most people already have at home, tucked away in the bathroom and garage. You don’t need a mechanic, and you definitely don’t need a $1,000 invoice.
We tried it ourselves. We put it up against fourteen other so-called solutions—the viral hacks, the internet myths, the ones that work for an afternoon and then fade away. Some of those methods help a bit. Some actually make things worse. Only one, the one dealerships would rather you ignore, gave us results that actually lasted ten months.
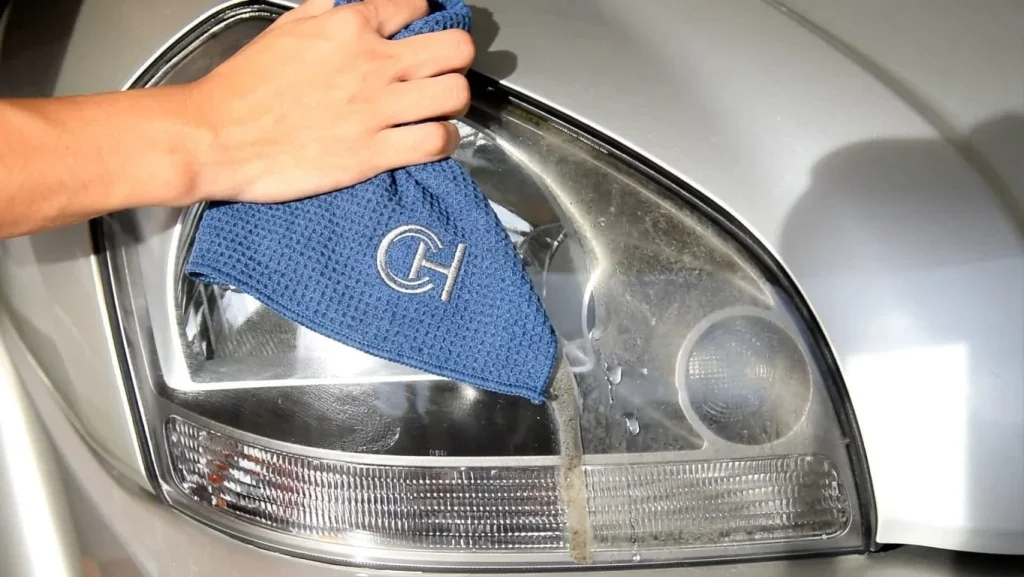
Stick with us and we’ll show you which fixes really work, which ones just waste your time, and the best way to clear up your headlights for less than the cost of a sandwich.Cloudy or yellow headlights aren’t just an eyesore—they really cut down on how much light you get at night. AAA actually tested this and found that cloudy lenses put out only about 22% as much light as they did when new. That’s a big deal for nighttime safety. So, knowing why headlights look this way goes a long way in fixing them, and keeping them clear.
Here’s what’s going on: from the factory, headlight lenses come with a thin UV-protective layer. Park your car in the sun long enough, though, and that layer just wears out. Once it’s gone, the plastic underneath starts to oxidize and turn yellow a lot faster. Mix in things like dead bugs, salty winter roads, harsh car wash soaps, or exhaust grime, and you get even more haze on top of the UV damage.
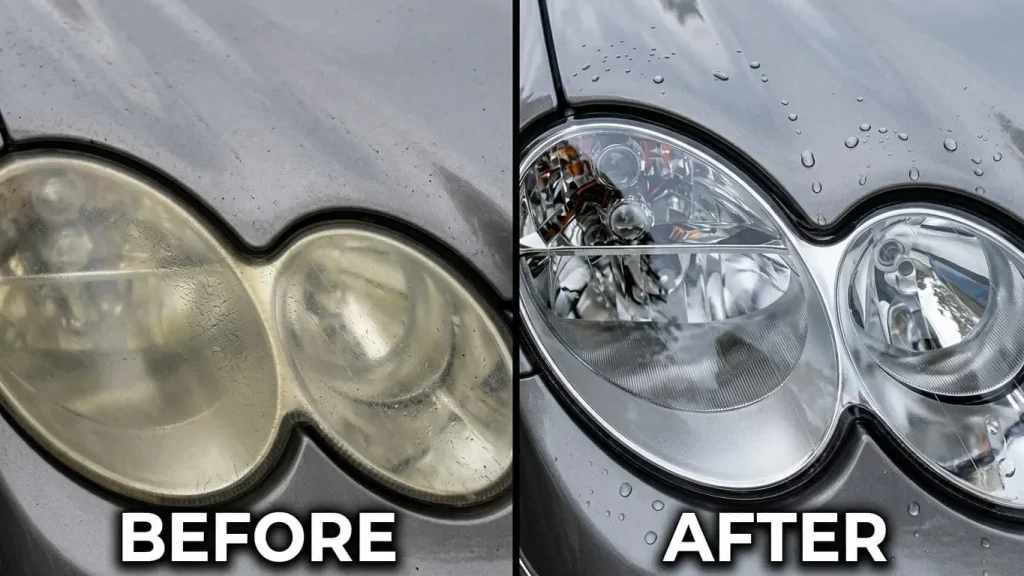
Want a quick DIY fix? Plain old white toothpaste can work in a pinch, but it matters which kind you grab. Go for one with a gritty texture, like baking soda toothpaste (not the clear gels or the super whitening types—they don’t do much). Before you start, always tape off the paint around your headlights, or you’ll have another mess to deal with. Then, use steady, circular motions to scrub the lens. Don’t rush, but don’t go too hard either—remember, toothpaste isn’t made for cars, and scrubbing too aggressively could actually scratch the plastic and set you back.
Most people miss what happens next: toothpaste can rub away some surface oxidation, but the clear look won’t last. In just a few weeks, that yellow haze comes right back. Why? Toothpaste does nothing to stop the sun from starting the process all over again. This is where a finishing step really matters: some car waxes actually come with UV blockers built in. Check the label before you buy—lots of waxes don’t have this. Make sure you pick one made for plastic, not just paint, and buff it in with a clean cloth.
If you want the fix to last more than a few months, the best way is to add a real UV-protective film or coating, which usually costs about $20 to $40. Done right, that keeps your headlights clear for years.
Here’s a tip most people overlook: storing your car in a garage or throwing on a car cover really helps slow down oxidation, since it keeps out the sun. And if you park outside, aim to have your headlights face north or south. That way, the sun won’t beat down on them for hours every day. Another thing: those quick automatic car washes? They use strong chemicals that can strip away the factory UV layer, so washing your car by hand is usually safer for your headlights in the long run.
If your headlights look really bad—deep pits, heavy yellowing, or cracks—then toothpaste won’t cut it. You’ll need to sand them down, starting with a coarse wet-sanding paper, then moving to finer grits before polishing everything back to clear. It takes some effort, but if you seal the lens properly afterward, that clarity can last two or three years instead of just a few weeks.
Wet Sanding Technique (Oxidized Headlights)
Your headlights aren’t telling you the whole story. Sure, you can still see the road, but that yellow haze on your lenses? It’s more than just ugly—it’s making it harder to see at night, and it’s about to hit your wallet for no good reason.
Go to any dealership with foggy headlights and you’ll hear the same thing: “You need new assemblies, both sides,” they’ll say, and just like that, you’re looking at a $1,000 bill. They’ll make it sound urgent and unavoidable. What they won’t talk about is what’s really going on under that cloudy plastic—and how rarely you actually need brand new headlights.
Here’s what they don’t mention: that fog isn’t just dirt. It’s not road grime, either. It’s UV damage, cooked deep into the plastic lens every time your car sits in the sunlight. And this isn’t something a new $1,000 headlight magically cures. Fixing the surface is what actually does the trick.
That’s what mechanics in other countries have been quietly doing for ages—no upcharge, no sales pitch. It costs about five bucks. Seriously. Two things most people already have at home, tucked away in the bathroom and garage. You don’t need a mechanic, and you definitely don’t need a $1,000 invoice.
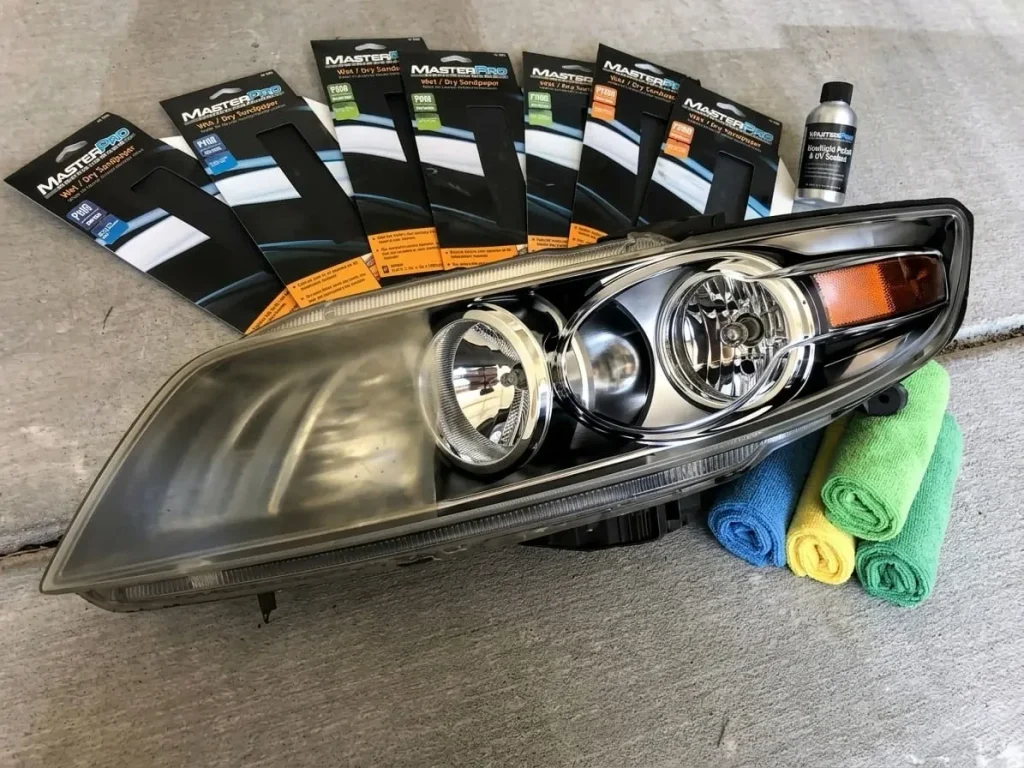
We tried it ourselves. We put it up against fourteen other so-called solutions—the viral hacks, the internet myths, the ones that work for an afternoon and then fade away. Some of those methods help a bit. Some actually make things worse. Only one, the one dealerships would rather you ignore, gave us results that actually lasted ten months.
Stick with us and we’ll show you which fixes really work, which ones just waste your time, and the best way to clear up your headlights for less than the cost of a sandwich.Cloudy or yellow headlights aren’t just an eyesore—they really cut down on how much light you get at night. AAA actually tested this and found that cloudy lenses put out only about 22% as much light as they did when new. That’s a big deal for nighttime safety. So, knowing why headlights look this way goes a long way in fixing them, and keeping them clear.
Here’s what’s going on: from the factory, headlight lenses come with a thin UV-protective layer. Park your car in the sun long enough, though, and that layer just wears out. Once it’s gone, the plastic underneath starts to oxidize and turn yellow a lot faster. Mix in things like dead bugs, salty winter roads, harsh car wash soaps, or exhaust grime, and you get even more haze on top of the UV damage.
Want a quick DIY fix? Plain old white toothpaste can work in a pinch, but it matters which kind you grab. Go for one with a gritty texture, like baking soda toothpaste (not the clear gels or the super whitening types—they don’t do much). Before you start, always tape off the paint around your headlights, or you’ll have another mess to deal with. Then, use steady, circular motions to scrub the lens. Don’t rush, but don’t go too hard either—remember, toothpaste isn’t made for cars, and scrubbing too aggressively could actually scratch the plastic and set you back.
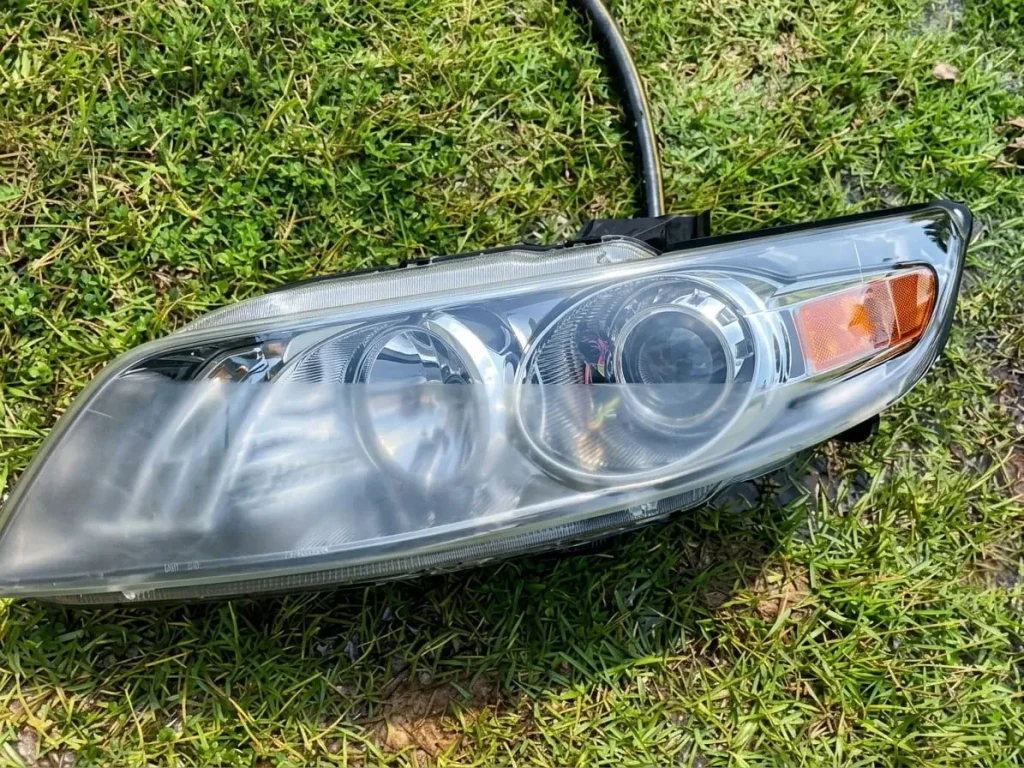
Most people miss what happens next: toothpaste can rub away some surface oxidation, but the clear look won’t last. In just a few weeks, that yellow haze comes right back. Why? Toothpaste does nothing to stop the sun from starting the process all over again. This is where a finishing step really matters: some car waxes actually come with UV blockers built in. Check the label before you buy—lots of waxes don’t have this. Make sure you pick one made for plastic, not just paint, and buff it in with a clean cloth. If you want the fix to last more than a few months, the best way is to add a real UV-protective film or coating, which usually costs about $20 to $40. Done right, that keeps your headlights clear for years.
Clay Bar Preparation (Headlight Restoration)
Most headlight restoration guides jump straight to sanding or polishing, but they skip a step that can quietly undermine all of it. Every drive deposits brake dust, rail dust, and industrial fallout into the surface, bonding so firmly that a wash mitt cannot reach them. On headlight lenses, that same contamination sits on top of the polycarbonate, and if you sand over it, you’re dragging those particles across the surface — creating additional micro-scratches before restoration has even properly started.
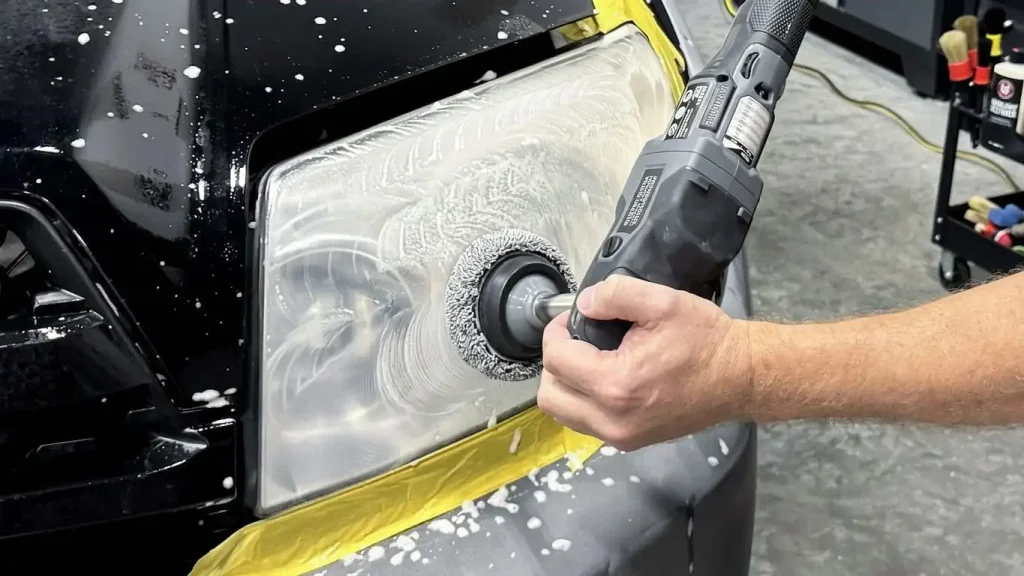
Clay is a prep step, not a restoration method — but it makes the surface clean so coatings can bond better afterward. One detail most guides get wrong: clay is safe for polycarbonate lenses as long as you use lubricant and light pressure. Never use clay dry on a lens — without lubricant, even fine-grade clay can drag and scratch the surface you’re trying to protect. Always use a dedicated clay lubricant spray, keep the lens wet throughout, and work in straight, overlapping passes rather than circular motions.
Grade selection also matters more than people realize. Heavy-duty clay handles severely contaminated vehicles or surfaces with extreme industrial fallout or paint overspray, but for headlights specifically, fine or light-grade clay is almost always the right choice. Polycarbonate is softer than painted metal, so a medium or heavy-grade bar risks leaving surface marring that then requires extra polishing to correct.
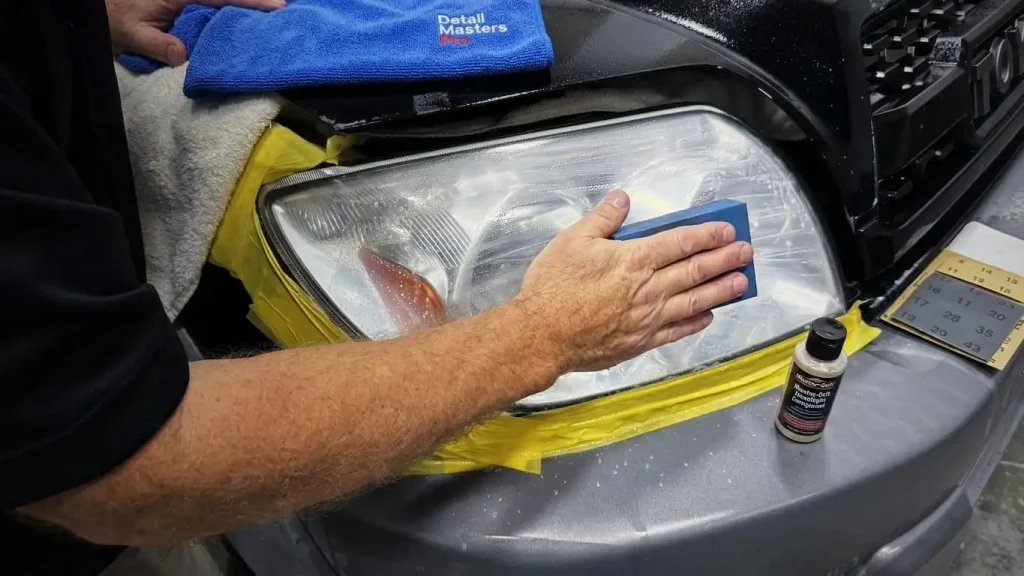
A quick and practical way to know whether your clay bar is doing the job: use the plastic bag test. After claying a section, slide a thin plastic bag over your hand and run it across the lens. Remaining contamination feels gritty through the bag, while a properly decontaminated surface feels smooth. This gives you an accurate read without relying on visual inspection alone. You can also check clay bar color — if the clay turns orange or brown during use, the lens had significant fallout contamination that washing never touched.Clay cannot repair physical degradation of the polycarbonate lens — it only cleans. So if your headlights are yellowed or hazy from oxidation, claying alone won’t fix that. What it does do is give your polishing compound, UV sealant, or ceramic coating a properly clean surface to bond to —because a coating applied to contaminated surfaces bonds more weakly and lasts shorter than it should. Think of it less as an optional extra and more as the foundation step that determines how long your restoration actually holds.
Lemon & Baking Soda Method (Cloudy Headlights)
The lemon and baking soda headlight hack has been shared millions of times across TikTok and YouTube, and it does work — but only within a specific and narrow range of conditions that most guides conveniently skip. This method is mainly effective on headlights with low to moderate cloudiness and is not a permanent fix. If your lenses have deep yellowing, crazing, or physical surface degradation, citric acid and sodium bicarbonate will not reach the problem — and scrubbing harder will not change that.
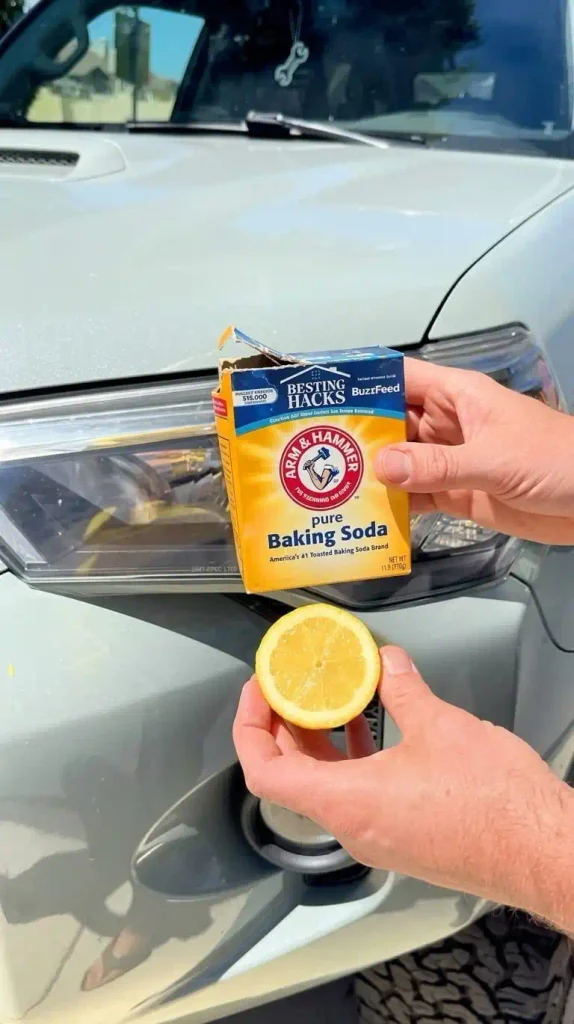
Understanding what actually happens chemically helps set realistic expectations. When lemon juice meets baking soda, the acid-base reaction creates a brief fizzing effect, but that reaction largely neutralizes both ingredients within seconds. What’s actually doing the work is the mild abrasive texture of the baking soda granules combined with the weak acidic cleaning action of the lemon juice before it neutralizes. Baking soda acts as a gentle abrasive, helping to scrub away surface oxidation, while lemon juice, with its mild acidity, can further aid in breaking down contaminants. For best results, mix the two into a paste consistency in a small bowl rather than scrubbing with a raw lemon half — a paste gives you more consistent coverage and better control over pressure.
There are two practical warnings most guides leave out entirely. First, lemon juice left to dry on bodywork or paint can damage it, so always tape off the surrounding paint before you start and rinse the lens and surrounding area thoroughly when done. Second, lemon juice’s acidity, while seemingly helpful, can accelerate the yellowing process in the long run, particularly if not thoroughly rinsed. Always rinse completely, then dry with a clean microfiber cloth to avoid streaking.
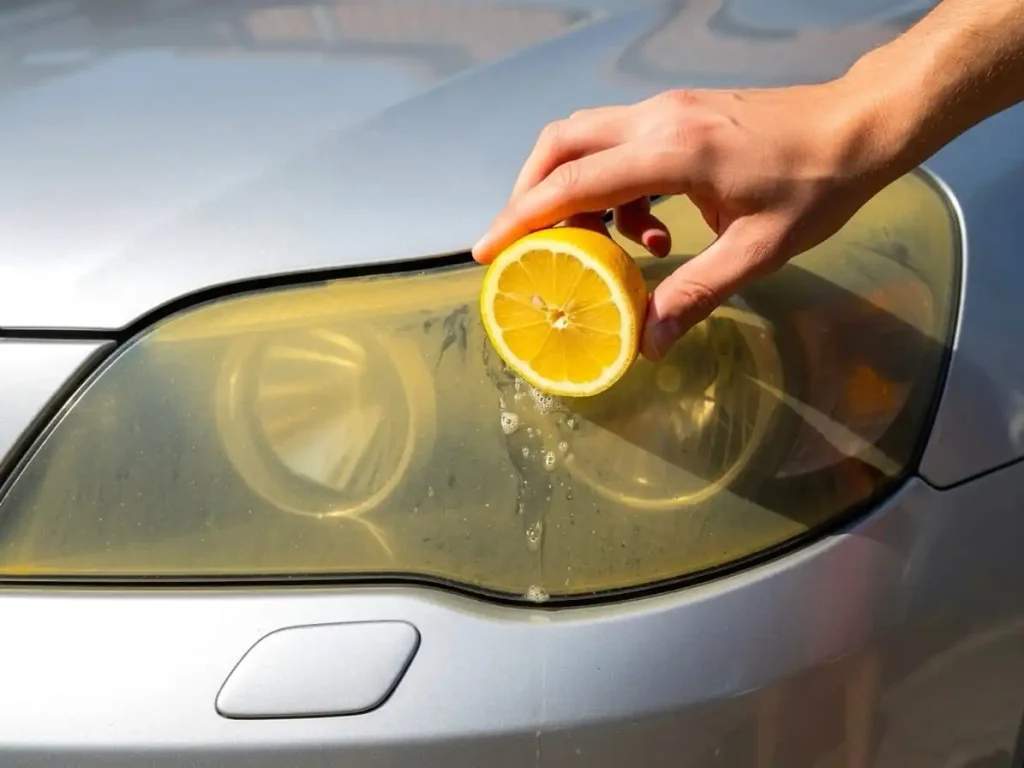
Lemon and baking soda can make your headlights look clearer for a little while, but don’t expectlong-lasting results. The combination does scrub away some of that cloudy surface layer, just not deeply enough to really solve the problem. People see quick improvements, but headlights start getting hazy again pretty fast because this method only removes part of the oxidation—and doesn’t protect against it coming back.
If you skip the UV sealant after cleaning, you’re basically leaving the headlights exposed, and the plastic will start yellowing again in just a few weeks. It’s a bit like brushing your teeth: it keeps things looking decent with regular effort, but it doesn’t fix headlights that are seriously damaged. If you want to keep them as clear as possible, you’ll need to repeat the process every month or so. That way, you’re maintaining them instead of hoping for a one-stop solution.
Magic Eraser Scrub (Cloudy headlights cleaning)
A Magic Eraser is one of those products that genuinely works on headlights — but not quite in the way most guides describe it, and with a couple of important caveats that are almost never mentioned.
When melamine resin hardens into foam, its microstructure becomes almost as hard as glass, attracting dirt and grime and trapping it in the open structure. That’s what makes it useful for surface-level cleaning on lightly hazy lenses. It is good at cleaning dirty headlights and even works on headlights with mild cloudiness. But
while a Magic Eraser may improve headlights that suffer from cloudiness, it can’t restore them to their original clarity.The first thing most guides get wrong: treating a Magic Eraser like a sponge rather than what it actually is.
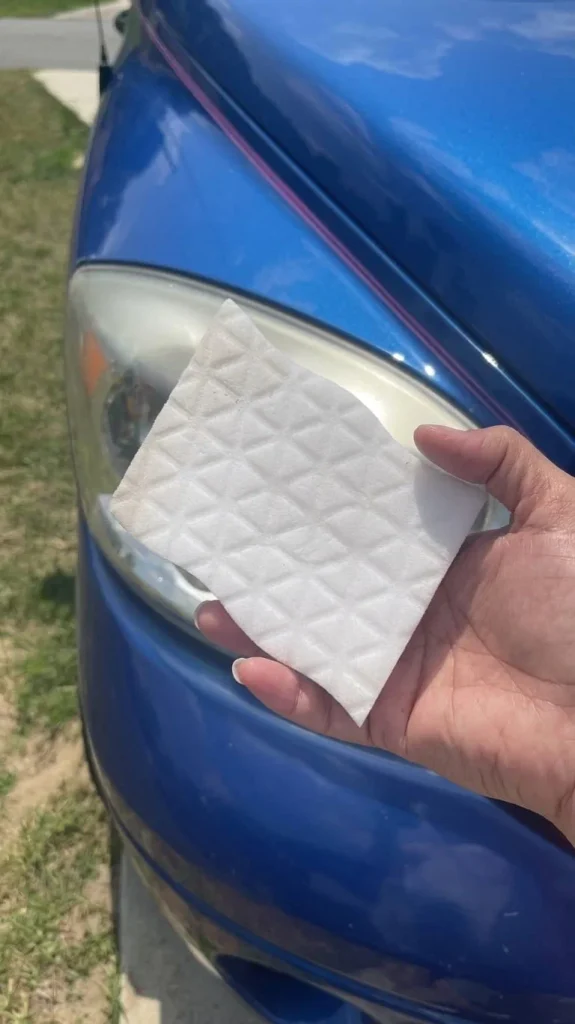
The erasers are akin to fine-grit sandpaper, which makes them effective at removing stains — and that same abrasive quality carries real risk if you’re not careful.
The abrasive nature of Magic Eraser can also remove the protective coating on some headlights, which can cause them to become more susceptible to damage from the elements. Before you start, tape off the surrounding bodywork — you won’t want to rub an eraser all over your vehicle because, by design, it will strip the paint off with a few strokes.
There’s also a health consideration almost nobody mentions: malamine foam does contain formaldehyde, which is toxic, so use gloves and a mask to avoid irritation or any reaction — especially when scrubbing in an enclosed garage without ventilation.
Application technique matters more than scrubbing time. Keep the eraser damp throughout — a dry Magic Eraser drags rather than glides, increasing the risk of uneven surface marring. Work in straight, overlapping passes rather than aggressive circular scrubbing.
Cloudy headlights aren’t really dirty—what’s missing is protection. Once the original UV coating fades, the plastic underneath gets exposed to the elements and starts to oxidize. Nothing you’ve got lying around the house can restore that protective layer. People try toothpaste, baking soda with lemon, even a Magic Eraser. And yes, those tricks clear up the haze for a little while. But the yellow cloud always comes back.
If you actually want your headlights to stay clear, you need to do a bit more. Clean the lens with a clay bar or try wet sanding, then polish it up. The real magic happens when you seal it with a UV-protective coating. That’s where most folks slip up—they skip the sealant. That’s why some headlights stay clear for years, while others fog up again after just a couple weeks.
And before you do any of this, check if the fog is on the inside. If it is, you’ve got a busted seal and no amount of cleaning outside will help. Clean headlights look sharp, but only the UV sealant keeps them that way.
It’s so helpful